Saturday, February 14, 2015

Sprouting  Lentils

My husband and I have had backyard chickens for the past two years. We live in an old inner ring suburb of Cleveland, Ohio called Cleveland Heights. It's a progressive community and a few years ago the city changed local zoning to allow residents to keep chickens. We'd always wanted chickens and didn't waste time getting a coup setup.


Our lot is only about a fifth of an acre but we have plenty of room to designate to our birds while still allowing lots of usable space for us in the back yard. It's amazing how much you can do with even a relatively small lot. The steady stream of beautiful fresh eggs is totally worth the small amount of work that comes with having chickens.

Our girls are all cold-hardy breeds and when the ground isn't show-covered they free range and forage. When it's snowy they stay in the coup and run. Without having the ability to free range in bad weather, it's important to supplement their diet. We feed our girls table scraps throughout the year and in the winter I supplement their diet with sprouted lentils. Lentils are easy to sprout and a great source of nutrition for people and chickens alike. Our girls love them.

I buy organic green lentils in bulk at Whole Foods for $2.39 a pound. A pound of lentils lasts about a month and a half and keeps our chicks supplied with a steady stream of fresh treats. We eat them too - either by the handful as a snack, sprinkled on salads or ground up in smoothies.

Lentils are one of the easiest things you can sprout. All you need is a large jar, a scrap of fabric, a rubber  band and some lentils (chick peas and mung beans also work well). If you'd like to try your hand at sprouting lentils follow these project steps.


Project Steps


Step 1: Start by soaking a half cup of lentils for between 12 and 24 hours. The lentils should be completely submerged in water with at least 2 inches of water covering them. This allows for them to stay submerged as they expand during soaking. 


Hour 1 of soaking

After 12 hours you will start to see the skins coming off the lentils. They will also have doubled in size. 

Hour 12 of soaking

Step 2: When you have reached the 12 hour mark, transfer the lentils into a large jar and rinse them 2 - 3 times. To rinse, fill the jar with water. 


Cover the jar with either a sprouting lid or a scrap piece of fabric and a rubber band. I use these lids which fit a wide mouth jar and have been very happy with them. Tilt the covered jar and allow the water to drain out. Repeat the rinsing process 2 to 3 times.


Step 3: When the sprouts have been thoroughly rinsed, let the jar rest upside down at an angle for at least 10 minutes to allow any remaining water to drain out. After 10 minutes you can store them upright.


Step 4: Rinse and drain your lentils using the above process twice each day. I usually rinse mine in the morning while my dogs are eating and at night when I'm cleaning up after dinner. After one day a small sprout will appear from the side of the lentil. Each day the sprout will grow.

Day 1

Day 5

After 4 or 5 days your lentils are ready to eat. Enjoy!


Wednesday, February 4, 2015

From Tea Length to Knee Length


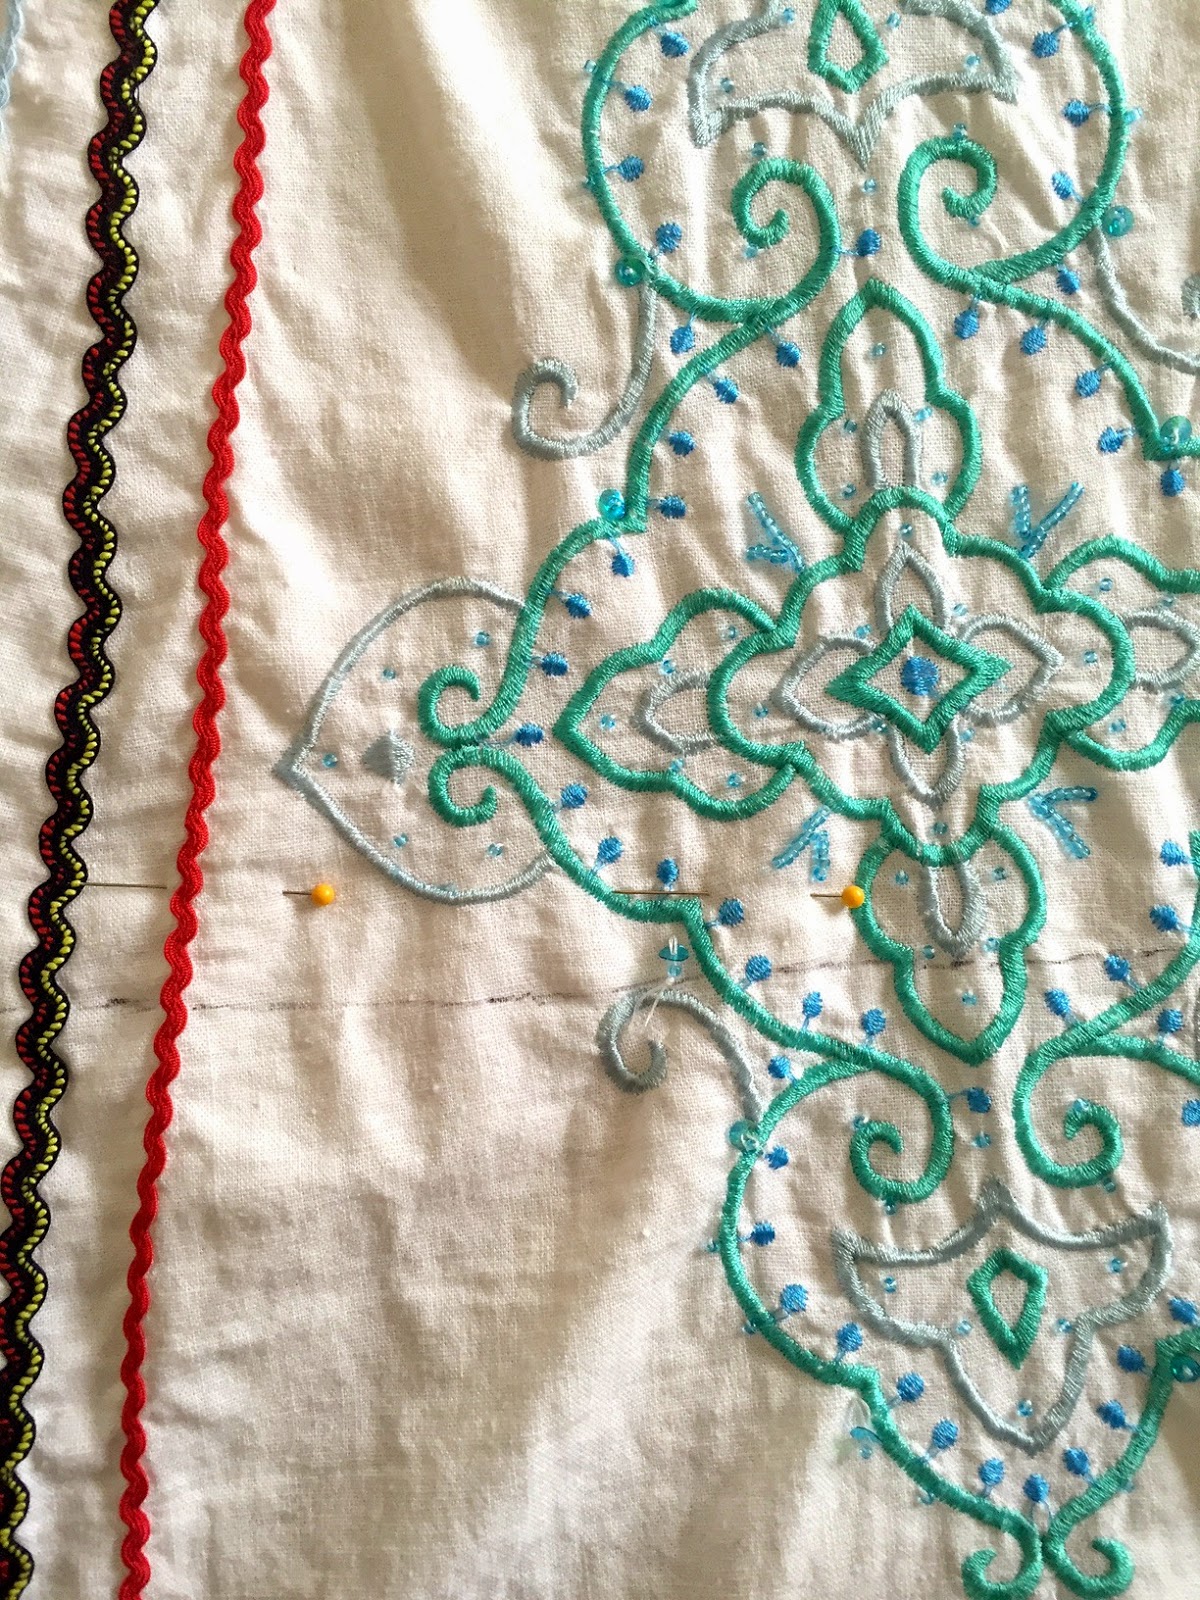
I found this skirt last Fall at Goodwill. It was marked 50% off because it was linen and the season for linen had definitely passed. I loved the rick rack, bright colors, beads and sequins and for $2 I figured I couldn't go wrong. It was a little bit big so I washed and dried it hot and that shrunk it just enough.


The real issue was the length. When you are petite tea length just doesn't work. The only people who can sport tea length are very tall, very skinny models and even on them it's questionable. I didn't want to lose the detail at the bottom of the skirt but I knew if I didn't shorten it I'd never wear it.

Living in Cleveland, where we get lots of snow, you can start to lose your mind by the time February rolls around. I find that being creative helps keep me sane. That and an annual late February trip to Tulum, Mexico for a week in the sun. With my beach vacation fast approaching I figured it was time to get cracking on this skirt. Here's how I both shortened and embellished it.


Project Steps


Step 1: First I tried on the skirt and determined the approximate length I wanted it. Because the skirt wasn't straight across (most full skirts like this one are not) I measured 8 inches up from the hem and made a mark all the way around. I repeated this at least 20 times across the bottom of the skirt.


Step 2: Once I had all my marks I connected the dots into a solid line using a pen. I did this freehand and just eyeballed a consistent curved line that was parallel to the original skirt hem. I then pinned front to back about an inch above the line all the way across.


Step 3: Next, I cut just above the line, through both layers of fabric, making sure to cut off the line I'd drawn.


Step 4: I set aside the bottom of the skirt  for a future project and was left with a shortened skirt. I made a few quick trims to sections that looked a bit jagged until I was left with a consistent curved line.


Step 5: I often find vintage linens second hand. When they are damaged I cut off the lace trim and cut the embroidered sections into squares to make patchwork quilts (there will be a blog post coming soon on this topic). For this project I decided to attach a large piece of hand embroidered lace from a tablecloth to the newly cut hem. The lace would both finish the edge and provide a really cute detail. I laid the lace out along the hem to make sure there was enough to go all the way around. Fortunately I had 2 pieces that together were long enough.


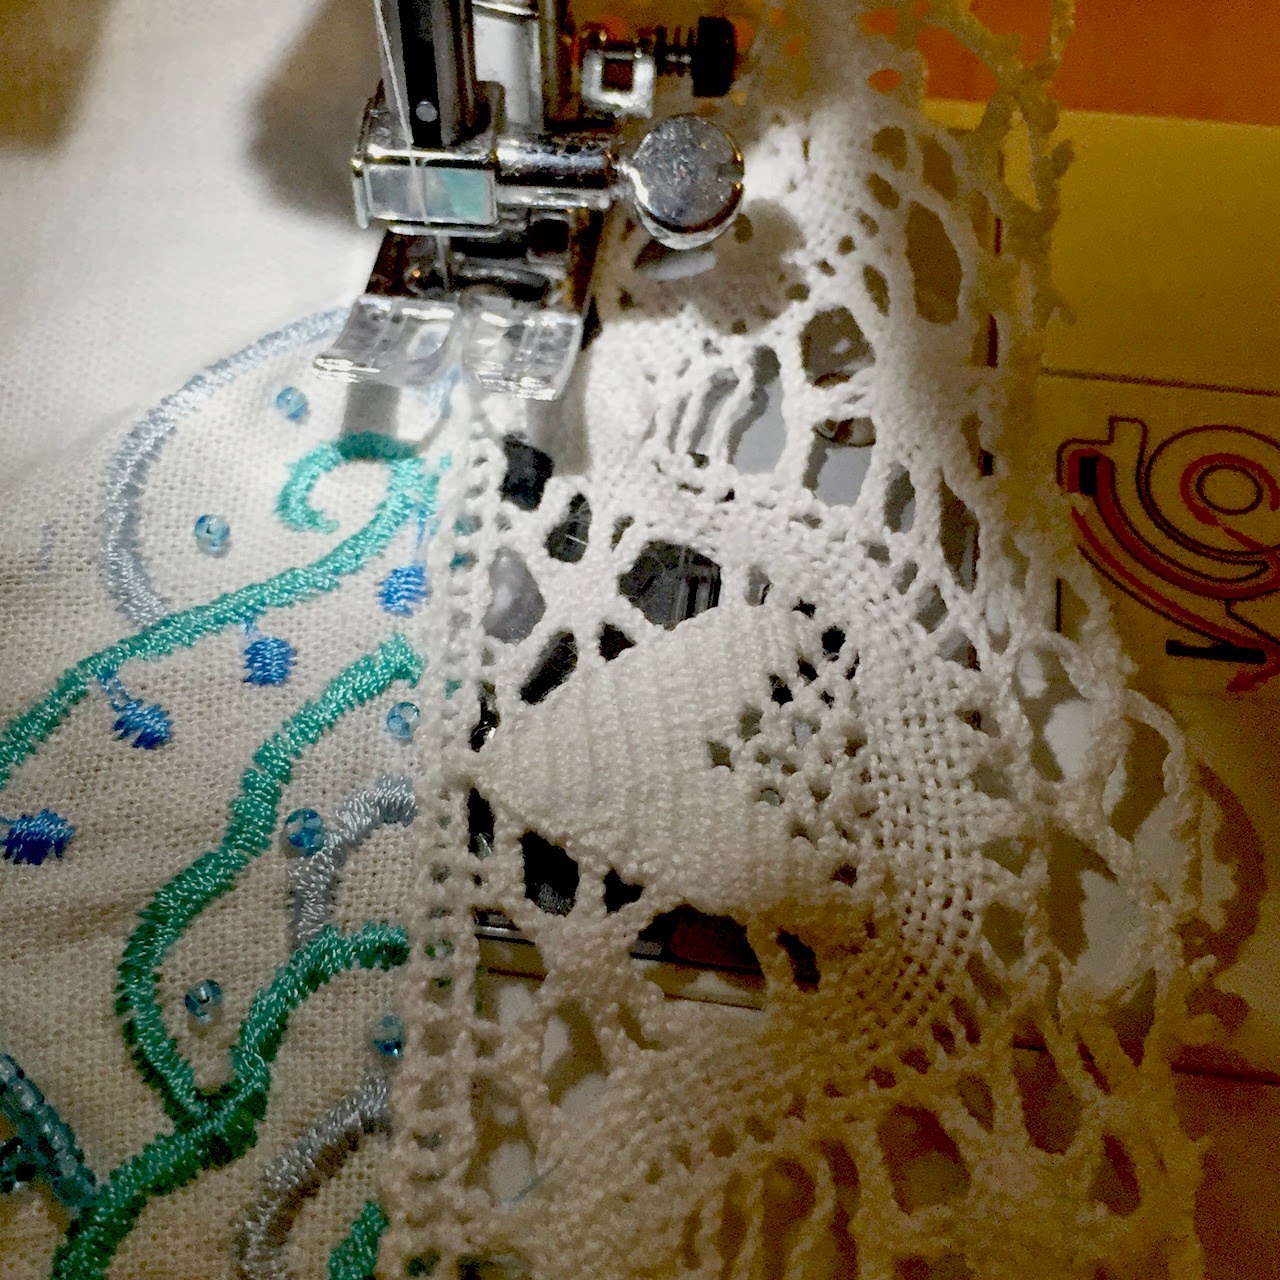
Step 6: I ironed the lace and then, because it was in 2 pieces, I joined the pieces together using a zip zag stitch on my sewing machine. Zig zag is a good way to join lace sections. When done using thread of the same color as the lace, the join will be barely visible.


Before the join


After the join

You want to make sure you go back and forth along the edges of the 2 sides placed closely together. After a couple of passes you'll have a strong join that is hard to detect.


Step 7: With the 2 sections joined I then started stitching the lace to the cut hem of my skirt. I used a zig zag stitch again to do this 1 - to make sure the unfinished hem wouldn't fray and 2 - to make a solid join between the lace and the fabric. When joining lace to material this way I find it's easier to not pin the pieces but instead to line the pieces up as I go and sew freehand.


Step 8: After sewing the lace all around the bottom of my hem I had a short piece of lace left.


I trimmed the excess lace and then again used a zig zag stitch to join the two raw edges or the lace together.


Before the join
After the join

And just like that I had a finished knee length skirt ready to wear in sunny Tulum!


Tuesday, February 3, 2015

A Thoughtful Second Baby Shower


With the arrival of a second child it isn't typical to have a second baby shower. This is a practical rule of etiquette but not necessarily a fun one. Why should you miss the opportunity to host a fun girls night and the chance to celebrate the impending arrival of a new baby just because you did it once before? 

The key to a second baby shower is to not make it all about acquiring more stuff. By the time you have your second, you likely have most of what you need. This was the case with a good friend of mine who has a toddler son and is expecting a baby girl in March. When my friend and I told her we wanted to host a shower for her she insisted she didn't need one because she already had everything. We eventually were able to convince her we wanted to celebrate this baby and agreed to not go as crazy as we did with her first shower (we seriously went a little bit nuts thanks to Pinterest!).

As we began to talk through the details my friend made a request. She said "please tell people not to bring me gifts, ask them to bring prepared, frozen meals". She knew that finding time to shop and cook meals was going to be almost impossible with a new baby, a toddler and a family business to run. I love this idea because it turned an event typically centered around things into something centered around love and thoughtfulness. It was also a reminder to all her friends that she would need the support of her village to raise this child.

In the air of keeping things simple we created an evite invitation and made the request for meals instead of gifts clear. When it came time for the shower, I cleared out the chest freezer in my basement and made room for the gifts. Everyone who came prepared at least one meal and I'm happy to say our mom to be left with a good supply of food. There were also a few pink bags with gifts for the baby girl because who can resist all those tiny sweet baby clothes!

If you're planning a baby shower, here are some ideas for planning a thoughtful, fun event.


Set up a Bar

Do not, I repeat do not host a dry shower unless the mom to be specifically requests it. Make sure to have both alcoholic and non-alcoholic options. Italian soda and Pellegrino flavored with fruit syrup are both good options for those who do not wish to partake. If your house is small like mine, set up several stations throughout the space to keep people from clustering too much in one spot. I set up a drink station in front of a door that leads to a side porch since we weren't going to be using the porch in January. I also set up a second appetizer station close to the drinks but with enough space in between for gathering. 


Plan a Crafty Activity

By now we should all know that no one likes the silly shower games our mothers were subjected to. That doesn't mean you shouldn't plan any activities for your shower. I'm a big fan of having a craft project at a baby shower. It forces people to interact who may not know each other and results in the creation of something thoughtful and practical for the guest of honor.

For past showers we've decorated onesies, bibs and even socks with fabric, stencils, paint, and buttons. I have a large stash of supplies from all of my projects and sourced the materials second hand. You'd be amazed at how many great baby items you find at second hand shops.


For this shower we decided to decorate wooden blocks. I found several nice options on amazon.com, these were my favorite. To decorate we used fabric, ribbon, paper and nontoxic paints and glues. 


We clearly had a blast sipping wine, eating sweets and catching up while we decorated. 


The end result was adorable!


Delegate

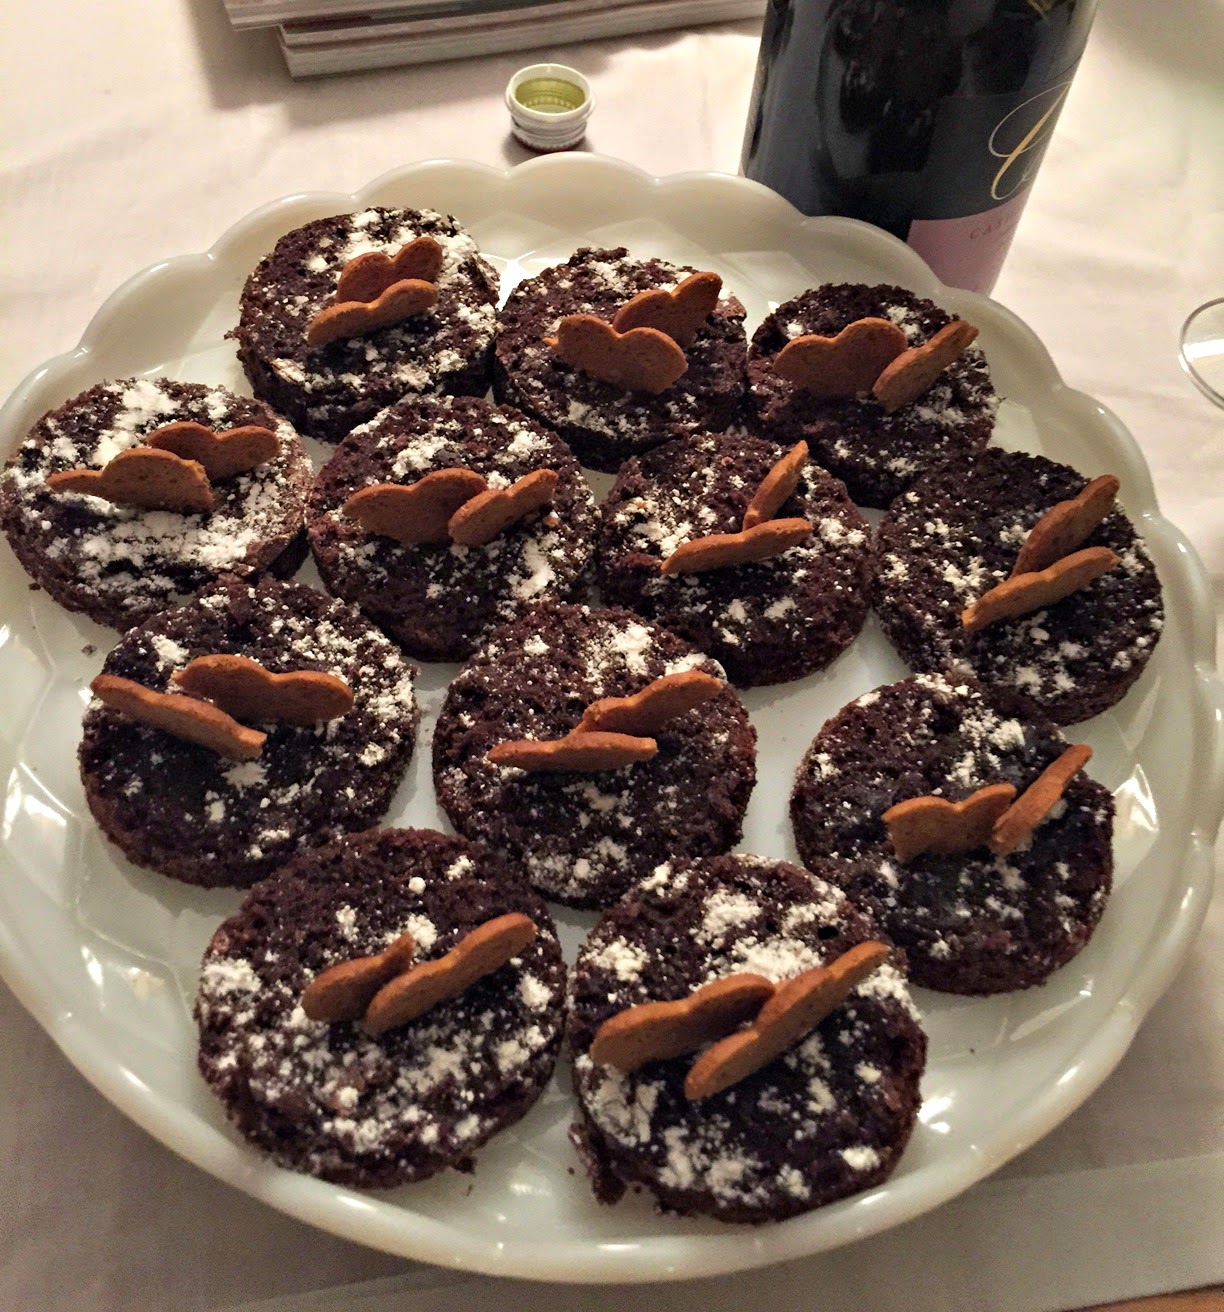
This was a small shower and I had a friend splitting tasks with me which made it much easier for both of us. We also delegated some of the shower food items to our guests so in the end we had a great variety of food and no one felt overwhelmed. Instead of having anyone stress over making a cake or shelling out a lot of money to buy one, we opted for two smaller, simpler desserts - brownies and cheesecake cups. Both were amazing!


Decorate

You don't have to go crazy but a bit of decoration can add a lot. For this shower my friend and I both made bunting out of felt & ribbon, t-shirt strips and vintage handkerchiefs. We strung the bunting up throughout the house which made it feel girly. At the end of the shower, we sent the bunting home with our friend to use in the baby's room.


Flowers should also not be skipped. Pair inexpensive blooms and plants with vintage milk glass containers and send them home with guests as favors.


Enjoy!

In the end remember the goal is to get everyone together and enjoy each other's company so keep things fun but simple and allow yourself time to enjoy the moment and each other.