From Tea Length to Knee Length
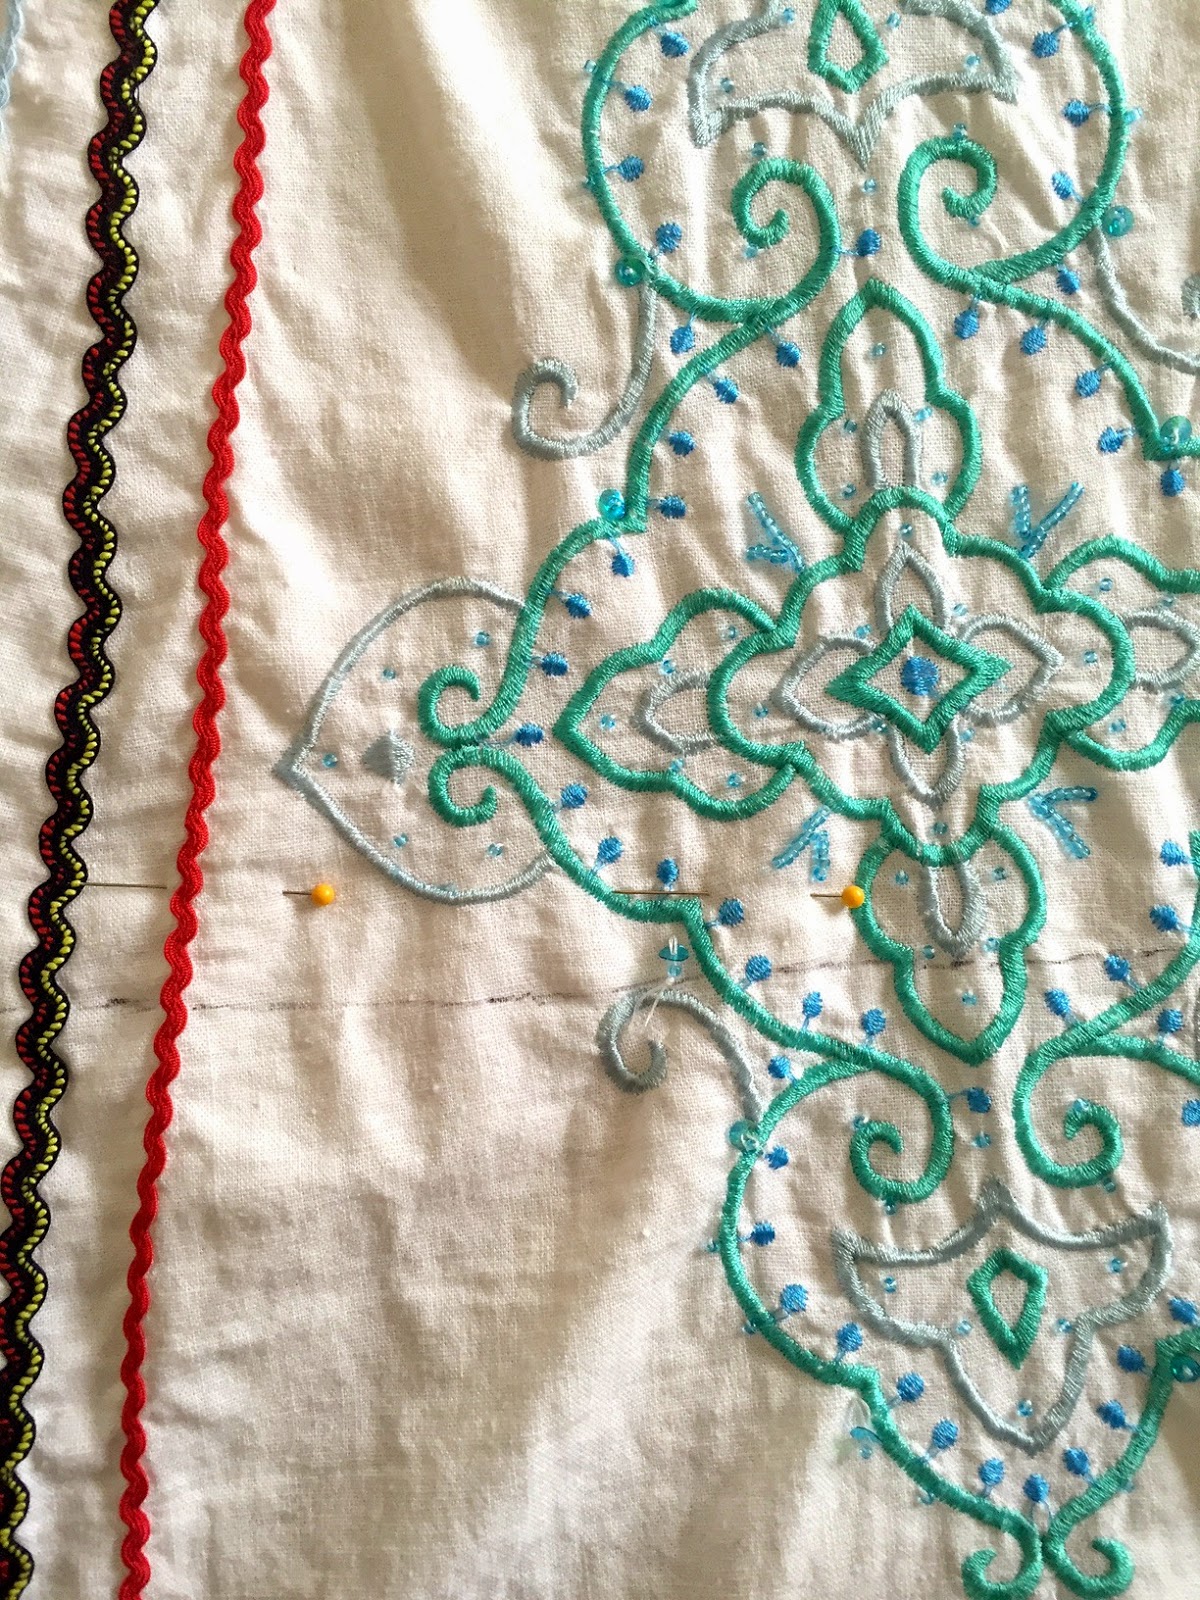
I found this skirt last Fall at Goodwill. It was marked 50% off because it was linen and the season for linen had definitely passed. I loved the rick rack, bright colors, beads and sequins and for $2 I figured I couldn't go wrong. It was a little bit big so I washed and dried it hot and that shrunk it just enough.

The real issue was the length. When you are petite tea length just doesn't work. The only people who can sport tea length are very tall, very skinny models and even on them it's questionable. I didn't want to lose the detail at the bottom of the skirt but I knew if I didn't shorten it I'd never wear it.
Living in Cleveland, where we get lots of snow, you can start to lose your mind by the time February rolls around. I find that being creative helps keep me sane. That and an annual late February trip to Tulum, Mexico for a week in the sun. With my beach vacation fast approaching I figured it was time to get cracking on this skirt. Here's how I both shortened and embellished it.
Project Steps
Step 1: First I tried on the skirt and determined the approximate length I wanted it. Because the skirt wasn't straight across (most full skirts like this one are not) I measured 8 inches up from the hem and made a mark all the way around. I repeated this at least 20 times across the bottom of the skirt.

Step 2: Once I had all my marks I connected the dots into a solid line using a pen. I did this freehand and just eyeballed a consistent curved line that was parallel to the original skirt hem. I then pinned front to back about an inch above the line all the way across.
Step 3: Next, I cut just above the line, through both layers of fabric, making sure to cut off the line I'd drawn.

Step 4: I set aside the bottom of the skirt for a future project and was left with a shortened skirt. I made a few quick trims to sections that looked a bit jagged until I was left with a consistent curved line.

Step 5: I often find vintage linens second hand. When they are damaged I cut off the lace trim and cut the embroidered sections into squares to make patchwork quilts (there will be a blog post coming soon on this topic). For this project I decided to attach a large piece of hand embroidered lace from a tablecloth to the newly cut hem. The lace would both finish the edge and provide a really cute detail. I laid the lace out along the hem to make sure there was enough to go all the way around. Fortunately I had 2 pieces that together were long enough.

Step 6: I ironed the lace and then, because it was in 2 pieces, I joined the pieces together using a zip zag stitch on my sewing machine. Zig zag is a good way to join lace sections. When done using thread of the same color as the lace, the join will be barely visible.
 |
| Before the join |
 |
| After the join |
You want to make sure you go back and forth along the edges of the 2 sides placed closely together. After a couple of passes you'll have a strong join that is hard to detect.

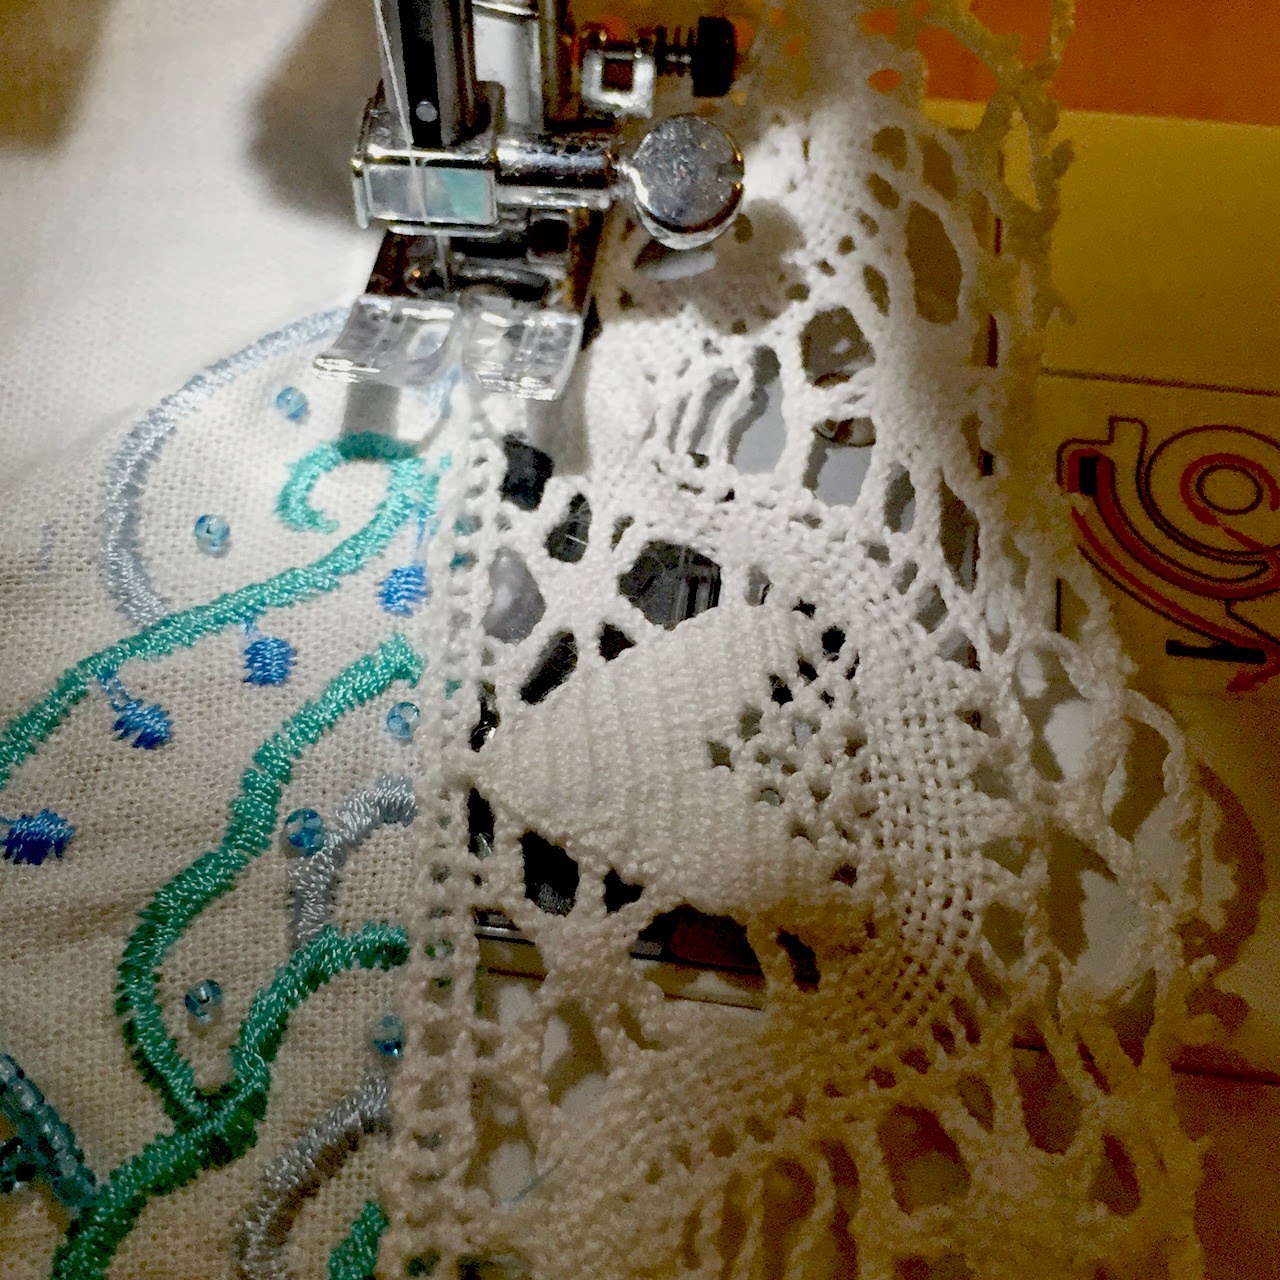
Step 7: With the 2 sections joined I then started stitching the lace to the cut hem of my skirt. I used a zig zag stitch again to do this 1 - to make sure the unfinished hem wouldn't fray and 2 - to make a solid join between the lace and the fabric. When joining lace to material this way I find it's easier to not pin the pieces but instead to line the pieces up as I go and sew freehand.
Step 8: After sewing the lace all around the bottom of my hem I had a short piece of lace left.

I trimmed the excess lace and then again used a zig zag stitch to join the two raw edges or the lace together.
 |
| Before the join |
 |
| After the join |
And just like that I had a finished knee length skirt ready to wear in sunny Tulum!


No comments:
Post a Comment